

Before demolition begins, we spend time protecting the parts of the home that aren’t being remodeled.
Floors get covered. Walkways are protected. Nearby surfaces are addressed. Dust control is set up.
Then comes the part everyone associates with demolition:
We actually start tearing things out.
But as the video points out, good demolition isn’t just swinging a hammer and seeing what falls off the wall. Once the protection is in place, the goal is to remove the old materials in a controlled way while keeping the rest of the home—and the people working in it—as protected as possible.
Protection Is Only Step One
Surface protection gives us a safe working area, but it doesn’t eliminate the realities of demolition.
Removing tile can mean breaking porcelain, pulling wallboard, chipping mortar, removing shower pans, and carrying heavy debris through the house.
That creates:
- Dust
- Sharp pieces of tile
- Heavy debris
- Noise
- Plenty of opportunities to accidentally damage something
That’s why the preparation we talked about before demo matters so much.
Once the tools come out, we want to be able to concentrate on the removal instead of worrying about whether every bucket of broken tile is scratching the homeowner’s floor on the way outside.
Demo Should Be Controlled
There’s a big difference between demolition and destruction.
We’re not trying to remove everything as violently or quickly as possible.
We’re trying to remove what needs to come out while protecting what needs to stay.
In a bathroom, for example, plumbing may remain in certain locations. Framing may be reused. Nearby drywall, cabinets, doors, or finished flooring may not be part of the remodel at all.
The more carefully materials are removed, the less unnecessary repair work we create for ourselves later.
Breaking something that was supposed to stay isn’t faster demolition.
It’s just tomorrow’s repair.
Dust Control Continues During the Work
Protecting the surfaces before demolition doesn’t mean we can forget about dust once the job starts.
Tile and mortar removal can create a surprising amount of fine dust. Chipping and grinding are especially good at reminding you how much material can fit into the air at one time.
Vacuum-assisted tools, containment, air filtration when needed, and regular cleanup can all help reduce how much of that dust spreads.
We’ve talked before about why we prefer the phrase dust-controlled or less dust over promising completely “dustless” demolition.
There will be some mess.
Our job is to keep that mess from becoming the homeowner’s entire house.
Debris Has to Leave the House Too
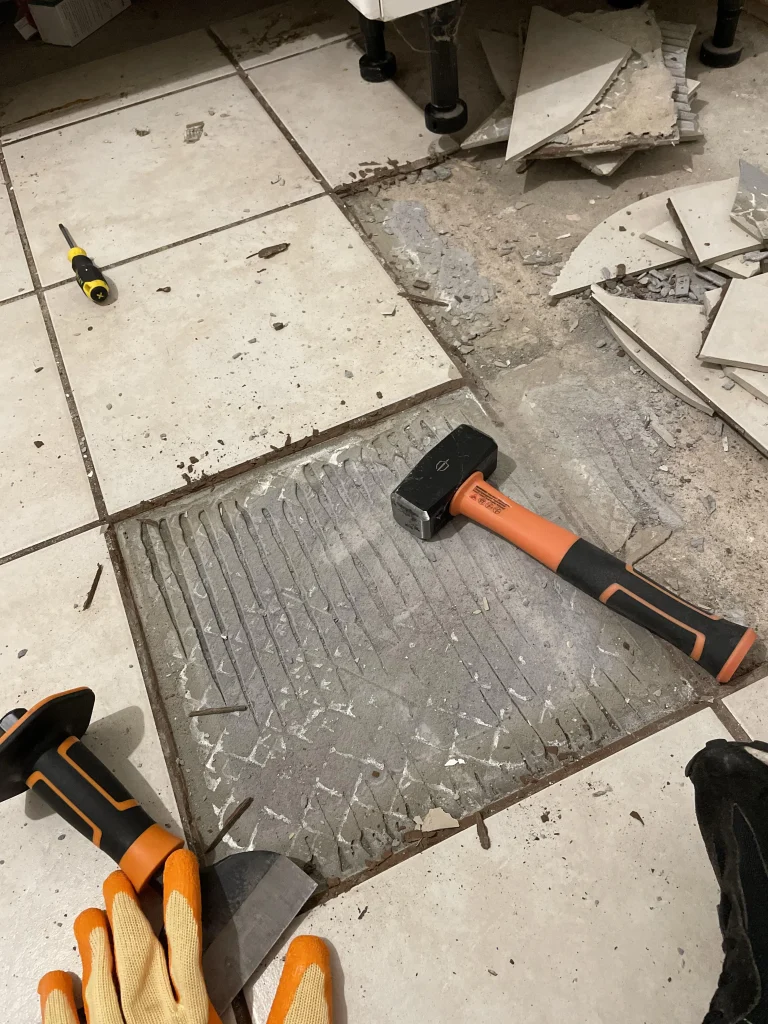
Something homeowners may not think about is what happens after all that tile comes off.
It doesn’t disappear.
Old tile, mortar, drywall, cement board, shower materials, and other debris have to be collected and physically carried out of the home.
That means the protected pathway matters just as much during debris removal as it does while we’re working.
Buckets and containers help keep smaller material contained, while larger pieces need to be moved carefully so they don’t hit walls, door frames, or finished surfaces along the way.
A good demo plan includes an exit strategy for the old bathroom.
Preferably one that doesn’t involve taking part of the hallway with it.
Then We Find Out What’s Really Behind the Tile
One of the most important parts of demolition happens once the old materials are gone.
We finally get to see what’s underneath.
That’s when we can evaluate the condition of the framing, substrate, plumbing areas, and anything else that has been hidden for years.
Sometimes everything looks great.
Other times, demolition reveals water damage, deteriorated materials, poor previous installation methods, uneven framing, or other conditions that need to be corrected before rebuilding begins.
Those discoveries aren’t always predictable from looking at the finished bathroom.
That’s one reason a remodel can’t always be treated like we’re simply swapping old tile for new tile.
The new installation is only going to perform as well as the structure we’re building it on.
Cleanup Is Part of Demo
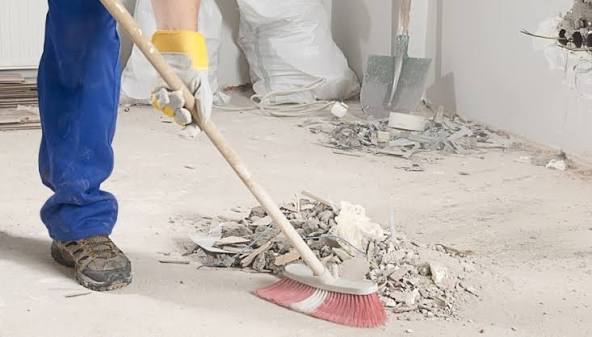
A professional jobsite shouldn’t wait until the entire demolition is finished before anyone thinks about cleaning.
Removing debris throughout the process keeps the workspace safer and makes it easier to see what we’re actually dealing with.
Once the demolition is complete, we want a reasonably clean, exposed workspace so we can evaluate the next step.
That might mean framing corrections, plumbing work, substrate preparation, or getting ready for the new shower system.
In a shower remodel, this is where we’re eventually working toward the properly prepared surfaces needed for the Schluter waterproofing systems we prefer.
Good Installation Starts With Good Removal
The finished tile gets all the attention.
Demo rarely does.
But the way a project is taken apart can have a real impact on how smoothly the rebuild goes.
Protect the home first. Remove the old materials carefully. Control the dust and debris. Inspect what’s underneath. Then fix what needs fixing before covering everything back up.
It’s not the glamorous part of remodeling, but it’s a necessary one.